Completely Tasty care guide
A gentle clean after every use beats a harsh deep clean
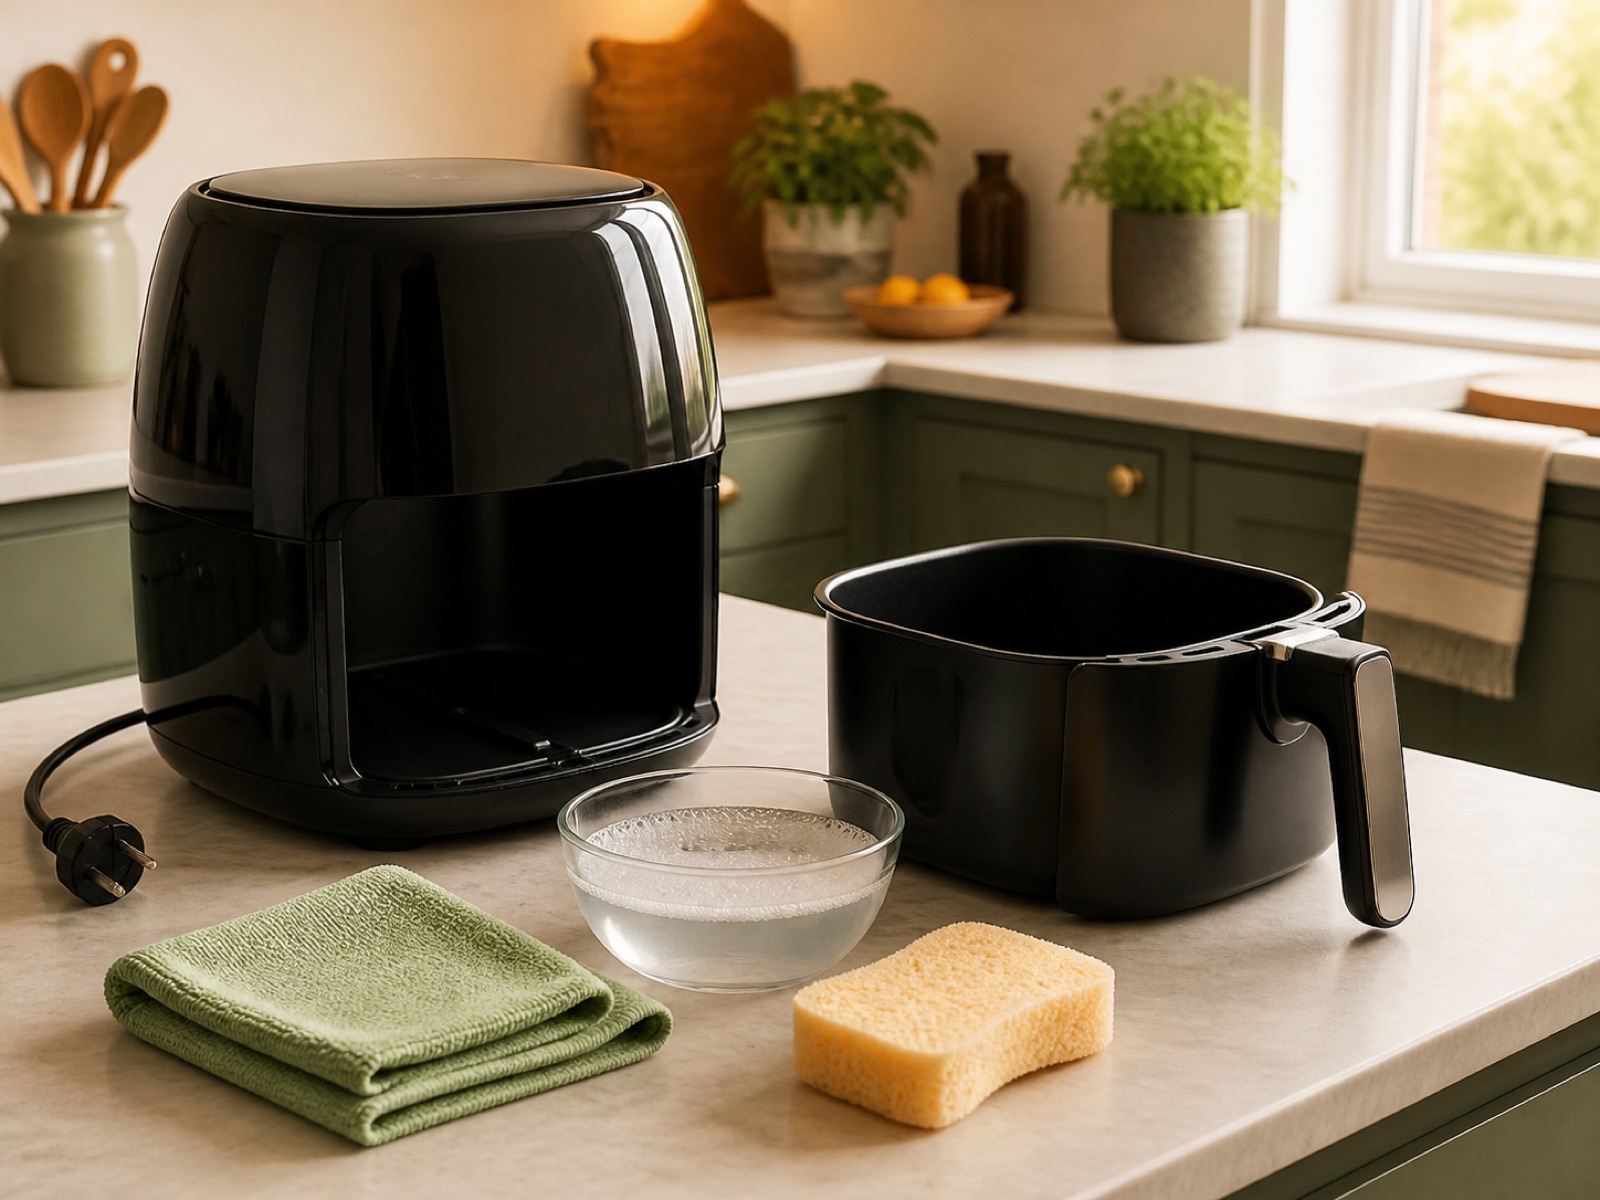
Quick answer: unplug the air fryer, let it cool, remove the basket and crisper plate, then wash the removable parts with warm water, washing-up liquid and a soft sponge. Wipe the main unit with a damp cloth and dry everything fully before reassembly. Check your manual before using a dishwasher or touching the heating element.
Air fryers collect crumbs, grease and cooking vapour in places that are easy to miss. Leaving that residue can cause smells, smoke and sticky build-up. Scrubbing too aggressively, however, can damage a non-stick coating or push water towards electrical parts.
The safest routine is deliberately simple. Use mild washing-up liquid, soft tools and the instructions for your exact model. Dishwasher compatibility, heating-element access and steam-clean functions vary, so a tip that is correct for one machine can be wrong for another.
Before you start: make the appliance safe
- Switch the air fryer off and unplug it at the socket.
- Remove hot food and place the drawer only on a heat-resistant surface.
- Allow the appliance and removable parts to cool. Electrical Safety First advises waiting at least 30 minutes before cleaning.
- Check the manual for removable parts, dishwasher instructions and access to the heater or fan.
Never immerse the main unit, cable or plug. Only put parts in water when the manufacturer identifies them as washable. The body contains electrical components even when the appliance is unplugged.
What you need
- Warm water and ordinary washing-up liquid
- A soft, non-scratch sponge or cloth
- A soft washing-up brush for corners and perforations
- A clean damp cloth for the appliance body and controls
- A tea towel or drying rack
- Your model’s instruction manual
You normally do not need oven cleaner, wire wool, a metal scraper or a strongly abrasive paste. Those tools can mark the surface and damage non-stick coatings. If your manual names a specific cleaner, follow its instructions and apply it only to the permitted parts.
The after-every-use cleaning routine
1. Empty loose crumbs and fat
Once the drawer is cool, remove the crisper plate or rack. Tip dry crumbs into the bin. Pour liquid fat into a suitable waste container rather than down the sink, where it can cool and contribute to a blockage. Wipe the worst residue with kitchen paper before washing.
2. Separate the removable parts
Take out the basket insert, crisper plate, divider, rack or probe only as the manual directs. Small silicone feet may be fixed parts rather than packaging. Do not pull them off unless the manufacturer says they are removable.
3. Wash with warm, soapy water
Use washing-up liquid and a soft sponge on the drawer, basket and crisper plate. Clean both sides of perforated plates because grease collects underneath. Run a soft brush through holes and around raised edges without forcing bristles beneath seals or fixed fittings.
4. Rinse and dry completely
Rinse away soap, then towel-dry or air-dry every part. Look around handles, corners and silicone fittings for trapped water. Reassemble only when the parts are fully dry.
5. Wipe the main unit
Use a well-wrung damp cloth on the exterior and control panel. Do not spray cleaner directly at buttons, vents, seams or the display. Wipe again with a clean damp cloth if you used washing-up liquid, then dry the surface.
How to loosen stuck-on food and grease
Soaking is usually safer than scrubbing. Fill the cooled, removable drawer or pan with warm water and a small amount of washing-up liquid. Leave it for five to ten minutes, or longer if your model’s instructions allow, then use a soft sponge. Philips recommends this short soak for residue in its pans; Ninja also advises warm, soapy soaking for stuck food on compatible drawers and crisper plates.
For a perforated plate, soak it separately so residue softens on both sides. A nylon washing-up brush can reach holes and corners. Avoid knives, metal utensils and wire brushes. If residue still will not move, repeat the soak rather than increasing the force.
Do not pour boiling water into a cold non-stick drawer unless the manual specifically instructs it. Sudden temperature change can affect some materials, and steam can travel towards parts that were not designed to get wet.
Can the basket go in the dishwasher?
Only if the instructions for your exact model say so. Philips lists the pan and basket for many of its Airfryers as dishwasher safe. Ninja’s guidance varies between ranges and parts: some drawers and crisper plates are dishwasher safe, while other support instructions recommend hand-washing a drawer to extend its life or identify particular parts as hand-wash only.
Even when a part is dishwasher safe, hand-washing may be gentler on a non-stick finish. Secure lightweight parts, choose a cycle compatible with the manual and let the components dry fully before they return to the appliance.
Cleaning the heating element and fan area
This is the part of the job where the model instructions matter most. First unplug the machine, remove the drawer and make certain the unit is cool. Use good light to inspect the roof of the cooking chamber. If you can see residue and your manual permits access, use a barely damp soft sponge or a soft-to-medium brush. Keep water away from electrical openings and never scrape the element.
Philips publishes model guidance that involves placing the appliance upside down on a soft cloth to reach the element. That is not a universal instruction: a heavy dual-drawer model, an oven-style appliance or a machine with a fixed water tank may require a different method. Do not invert your air fryer unless its own manufacturer tells you to.
Do not try to remove the heating element or fan. If heavy grease sits behind an inaccessible guard, or the machine smokes after careful cleaning, contact the manufacturer rather than dismantling it.
What about steam-cleaning hacks?
Do not run a drawer full of soapy water in an ordinary air fryer just because a video recommends it. Heating liquid in a product that was designed for dry, circulated air can create splashes and steam near electrical components. Some newer machines have a dedicated steam-clean programme, but it applies only to the models and chambers identified by the manufacturer.
If your appliance has an official cleaning cycle, follow the water quantity, ventilation clearance and drying sequence exactly. Otherwise, unplugged hand-washing remains the conservative choice.
Dual-drawer and oven-style air fryers
For a dual-drawer model, wash both drawers even when only one looks dirty; cooking vapour can travel around the unit. Clean dividers, crisper plates and the grooves that hold them. Keep electrical contacts, probe sockets and the central body dry.
An oven-style air fryer adds racks, trays, a crumb tray, interior walls and a glass door. Remove and wash each accessory according to its manual, empty the crumb tray frequently and wipe splashes from the cooled interior with a soft damp cloth. Dishwasher instructions can differ for the basket, wire racks, roasting tray and crumb tray, even within the same product.
Why does my air fryer smell or smoke?
- Old-food smell: inspect beneath the crisper plate, drawer corners and the chamber roof for residue.
- Greasy smoke: allow the machine to cool, then remove pooled fat and clean splashes from permitted surfaces.
- Plastic or electrical smell: switch off, unplug and contact the retailer or manufacturer, especially if there is unusual noise, scorching or a hot plug.
- Smoke only with fatty food: check the recipe and manual for grease-management instructions, but do not add water unless the manufacturer explicitly permits it.
Cleaning products and methods to avoid
- Conventional oven or grill cleaner unless the manual explicitly approves it
- Wire wool, metal scrapers and hard wire brushes
- Strong abrasive powders or gritty pastes on non-stick surfaces
- Spraying liquid directly into vents, controls or the heating chamber
- Immersing the main unit, cable, plug or a temperature probe
- Reassembling damp parts
- Dismantling a fan, element or electrical housing
How often should you clean it?
| Part | Sensible routine |
|---|---|
| Drawer, basket and crisper plate | After every use |
| Divider, rack and washable accessories | After every use they are used |
| Main unit and controls | Wipe after spills or greasy handling |
| Heating-element area | Inspect regularly; clean only as the manual directs |
| Air intake and outlet | Check regularly and keep clear; do not push debris inside |
| Plug and cable | Check before use for damage, heat or scorch marks |
A two-minute maintenance check
- Check that the coating is not lifting or badly damaged.
- Make sure fixed feet, seals and handles are secure.
- Clear the air intake and outlet without inserting tools.
- Inspect the plug, socket and cable for heat, cracking or scorch marks.
- Confirm the drawer closes correctly and the appliance sits steadily.
- Register the product so you can receive safety-recall information.
Stop using the appliance if the coating is peeling significantly, electrical parts are damaged, the plug or socket overheats, or unusual smells and noises continue after cleaning. Contact the manufacturer, retailer or a qualified repair professional.
The Completely Tasty routine
Cool, separate, soak, wipe and dry. That gentle five-part routine prevents most build-up without risking the coating or electrics. Save the deep clean for visible residue, and let your model’s manual decide what can enter a dishwasher or touch the heating area.
Choosing or replacing an appliance? Continue with our air-fryer size guide, compare single and dual drawers, or decide between an air fryer and mini oven.
Frequently asked questions
Can I use bicarbonate of soda?
Check your manual first. Bicarbonate mixtures can be mildly abrasive, and gritty paste may dull a non-stick surface. Warm soapy water and soaking are the safer default.
Can I put water in an air fryer to clean it?
You can soak a cooled, removable drawer when the manufacturer permits it. Do not put water into the assembled appliance or heat soapy water in a standard air fryer. Use a steam-clean cycle only when it is an official feature of your exact model.
How do I clean grease from the heating element?
Unplug and cool the appliance, then follow its manual. Some manufacturers permit a soft sponge or soft-to-medium brush on accessible residue. Never use a wire brush, flood the chamber or dismantle the element.
Why is my air fryer sticky after washing?
There may be a thin grease film or washing-up-liquid residue. Rewash with warm water and a small amount of grease-cutting washing-up liquid, rinse thoroughly and dry. Repeat rather than using an abrasive pad.
Should I clean a new air fryer before first use?
Yes, follow the first-use instructions. These normally require washing and drying the removable cooking parts and wiping the main unit, but the exact preparation varies by model.
Research note: guidance was checked on 6 August 2026 against Electrical Safety First air-fryer safety advice, the official Ninja AF100UK cleaning FAQ, official Ninja AF400UK cleaning guidance and Philips Airfryer cleaning support. Instructions differ by model; your own manual takes priority. This article contains no affiliate links.